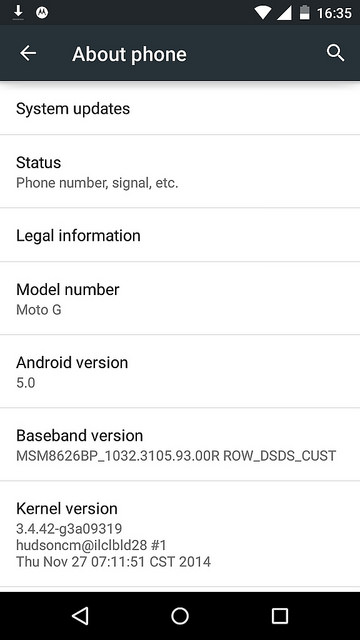
As you may know, I have a Moto G, a great device at a really low price, it has a 720p display that gives you 320dpi, 16GB of storage which to me is more than enough, 1GB of RAM, again, enough; and the latest version of Android. Well, you may have Android 4.4.4 but you can install Android 5.0 by now.
The Brazilian version of the Moto G, the XT1033 (dual SIM) have now the upgrade if you enrolled to the Motorola feedback program, then getting the OTA was just a matter of time.
In order to upgrade to Lollipop you must flash your device with the Brazilian firmware, you need then an unlocked bootloader, but if you are interested (or desperate) enough to install it I guess you already have it unlocked.
What you will need to have:
- Unlocked bootloader
- fastboot
- adb
- a custom recovery (eg. TWRP)
- Brazilian firmware from here.
- OTA Update from here.
What you will need have to do.
- Restore the stock Brazilian firmware
fastboot flash motoboot motoboot.img
fastboot flash logo logo.bin
fastboot flash boot boot.img
fastboot flash recovery recovery.img
fastboot flash system system.img_sparsechunk.0
fastboot flash system system.img_sparsechunk.1
fastboot flash system system.img_sparsechunk.2
fastboot flash modem NON-HLOS.bin
fastboot erase modemst1
fastboot erase modemst2
fastboot flash fsg fsg.mbn
fastboot erase cache
- Boot the phone and let it build the basic structure of the system.
- Reboot into the bootloader.
- Press the Power Button and the “Vol Down” button for around 5 seconds, then release them, you should see the bootloader menu.
- Flash the custom recovery
fastboot flash recovery custom_recovery.img
- Copy the OTA update to the SDCard.
adb push Blur_Version.210.12.40.falcon_umtsds.Brasil.en.BR.zip /sdcard/
- Flash the stock recovery (from the stock firmware)
fastbook flash recovery recovery.img
- Then reboot into the stock recovery.
- Turn off the phone,
- Press the Power Button and the “Vol Down” button for around 5 seconds, then release them, you should see the bootloader menu.
- Press one time Vol Down to select “recovery” then hit “Vol Up” to select it.
- You should see the Android robot with the belly opened and an alert triangle with it. Don’t worry, you haven’t bricked your phone (yet).
- While in this screen, hit Power Button and “Vol Up” for around 3 seconds, the recovery menu should appear.
- Select Install update from ZIP
- Select the ZIP you put in /sdcard/
- Wait for around 15 minutes, until it says that the upgrade is done. The “Patching system files” process is the one that takes that long.
- reboot.
Did you upgraded to Lollipop? Post your screenshots in the comments 😉
![]()


